Sunday, February 19, 2012

Launching the second floor project

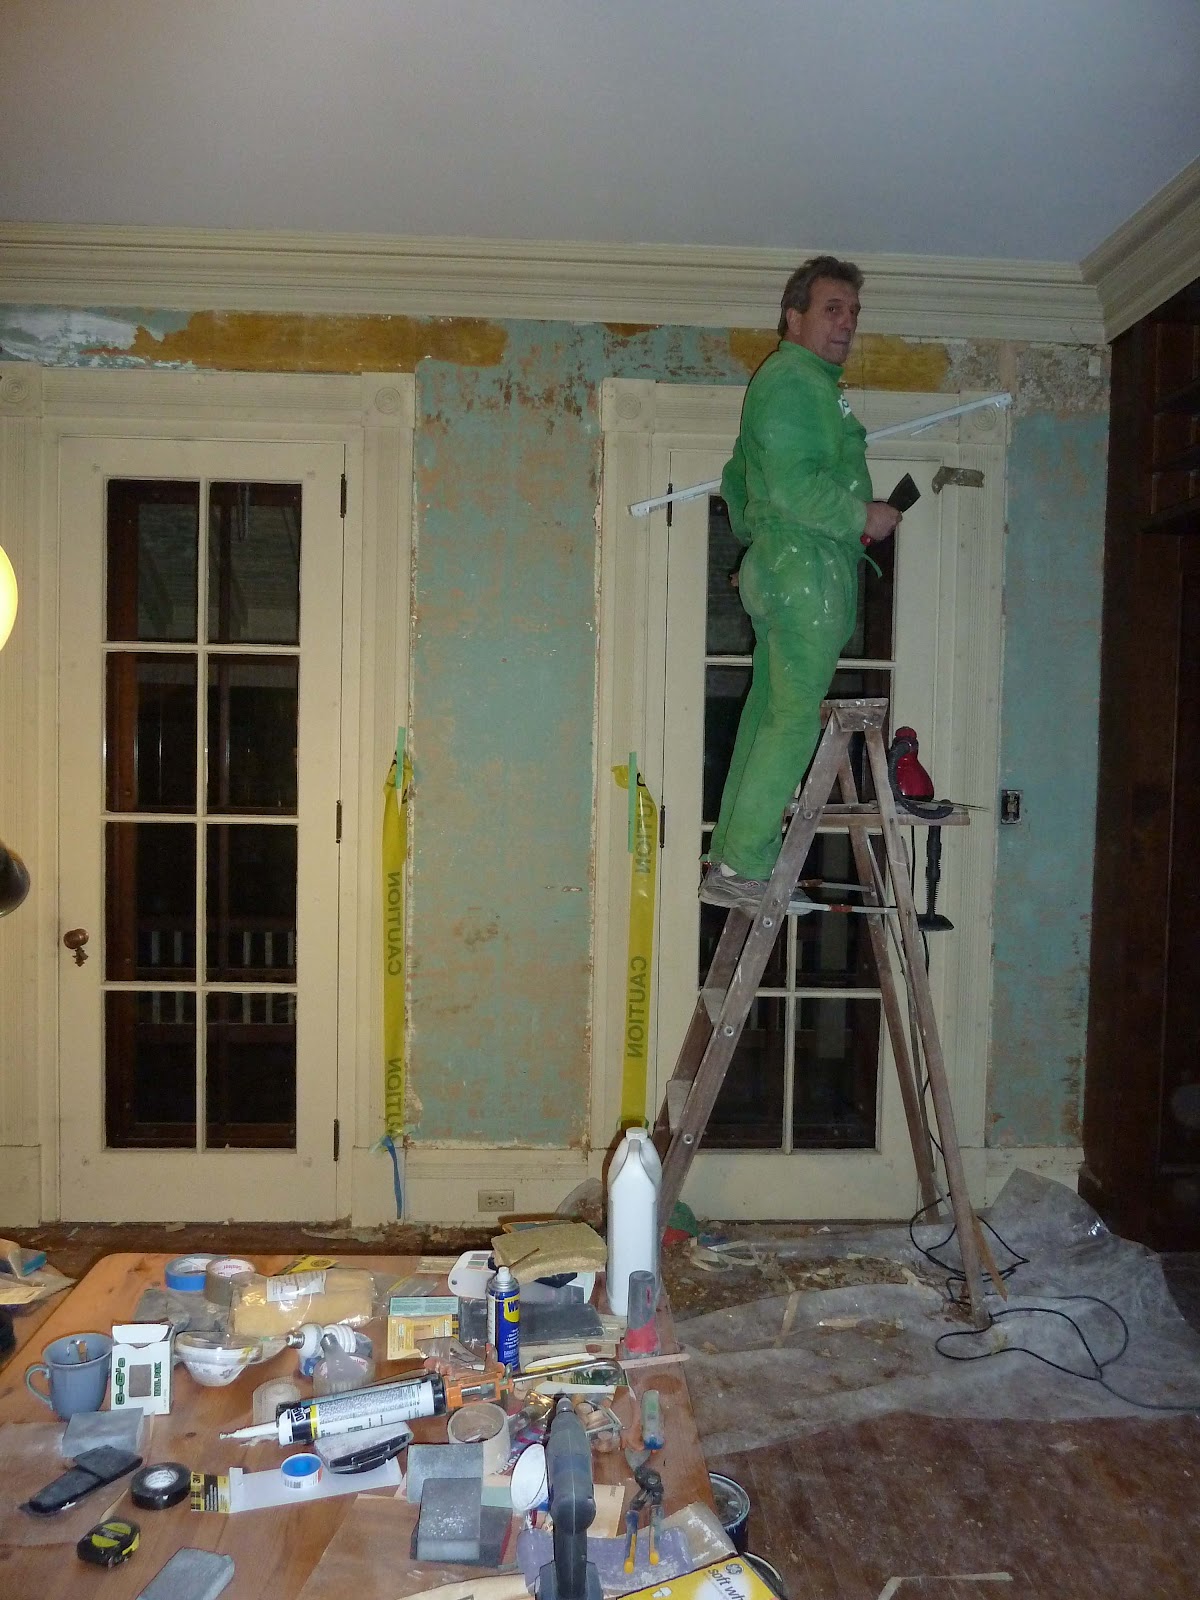
After a nearly 3 month break from blogging - unintentional, but maybe an unsurprising result of working our butts off every day from dawn to dusk - we're kind of caught up.  Other work has taken place, notably in the office and little room next door, and we've turned the addition into an atelier-cum-storage space.  We've had all the floors redone on the ground floor and they look beautiful.

But now we're going to turn our attention to the "big project," which I like to liken to the trick of pulling a rabbit out of hat, namely, making 3 bathrooms out of 1.  The second floor, where the guest rooms will be, has only 1 bathroom.  How the Ganzells did it with 3 girls, I don't know.  But nowadays, people want their own bathroom, which I can understand because I don't like to share a bathroom with strangers either.

So, calling on the vision of Dominique and the amazing ability of Kim to make that vision work on paper, we have approved and permitted plans to move walls, change doors, make openings, and add fixtures with the end result being that we will have a master bedroom/sitting room suite, a linen closet, and two new bathrooms where only one exists today.

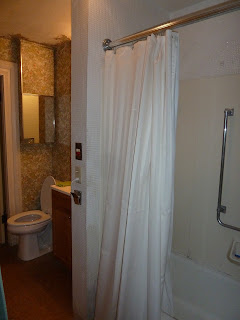
Mack & Sons will be here tomorrow to start the demolition.  We've moved to the 3rd floor for the duration, which should be 4-6 weeks (hopefully 4).  I'll try to be better at posting about progress; should be interesting.  Here's what we're starting with:


Dining room

Apart from the exterior painting, the dining room was the biggest project we tackled by sheer virtue of its size.  The fact that the wallpaper was underlay by a bright red paint did not make the prep work any easier.
The bulk of this work was done by Dominique with some help from Billy and Bob and to an infuriatingly lesser extent, from Danny.  Oh yes, we got Dom's daughter Marie involved, too.
There were a lot of issues in this room - maybe it was the most used?  I don't know.  But the plaster was in pretty bad shape, and there were dangling wires that we didn't know if they were live, or what they went to.  We're still sorting that out. 

Needless to say, there was a ton of prep work and endless sanding.  Weeks later, we learned that there was a thinner kind of skim coating we could have used that would have made this work much easier.  That would have been nice to know before we basically turned our dining room into a facsimile of the surface of the moon.


To add that special complication that each room seems to have up its sleeve, we discovered that the trim had been done in oil paint.  Being told that it was very difficult, messy, and smelly to work with an oil-based primer, we asked Billy and Bob to do that for us.  Later we found out it wasn't really that hard - Dom did it himself in the library.  At least we learned the technique for determining whether a paint was oil or acrylic. (Paint some acrylic on it, let it dry, and see if you can scrape it off with your fingernail.)
It's still not quite done in this picture:  we have some wainscoting to replace, the floors haven't yet been redone, and the cabinet inset hasn't been reworked.  We're still experimenting with furniture and paintings.  But we're using it now, and even had our friends Reeny and Jon over for our first real guest meal.

Library

The library is a wonderful room, with floor-to-ceiling shelves on three walls and dark wood paneling everywhere.  One of the former owners was an English professor who need a lot of book space.  Over the years, however, like everything else, it had become a little worn and needed some TLC to get it back into shape.  This was largely Dominique's project.

The worst part was the wallpaper, as usual.  Turns out there were 4 layers of wallpaper, and we think we got down to the original one.  There was a small square of it that was in pretty good shape - not torn and not too faded - so we saved that as a sort of window into the past.  The rest was eventually stripped off. 

There was a tremendous amount of prep work that had to be done and at the time we were only spending about a week a month in Oberlin, so it was very slow going.  We also had to move our tool area from the dining room to the library which provided another little obstacle to work around.


One good thing was that we learned about the very wide plastic sheets that can be used to protect furniture, bookshelves, etc.  It would have been nice to know about them before we took all the shelves down.  As it was, sanding powder got all over everything anyway; I'm not really sure why we bothered.

In a surprising departure from his usual conservative approach, and against our painter's recommendation, Dom painted the small area that wasn't covered by bookshelves a bright but warm yellow.  Ok, it's not to everyone's taste, but we really like it.

This has turned out to be one of our favorite rooms, if not the favorite room.  We have coffee here in the morning, and an aperitif in the evening.  It's comfortable and cozy.
Like all the rooms, it's very much a work in progress.  We're planning to put a small bar in here, and we're in the process of moving our books in.  I'm sure we don't have as many books as Professor Ganzell but we'll fill these shelves up before we're done.

Kitchen

Somewhat concurrently with the entry way, I started to work on the kitchen which had fallen victim to our initial wallpaper-stripping madness.  I can't even remember what the wallpaper looked like, but apparently it was something we thought we couldn't live with.  We chose a pretty sky-blue for the walls and a warm beige for the inside of the cabinets, which were lime-green.  (Must have been last painted in the 70's.)  Except for the glass cabinet, which was rust red.  Go figure.

The drill was similar to the entryway:  wash, patch, sand, prime, paint.  The hardest part was the inside of the cabinets.  Just to make things really difficult, I used the wrong primer:  it was tan instead of white, so I had to re-primer and then put down 2 coats of paint.  What a pain.  I was literally painting upside down sometimes.

Of course, once we got the walls painted, the trim - which had looked pretty good - looked dull and too beige, so I painted that white.  These pictures were taken before the trim was painted.

Patching
Red cabinet

Much better

Trim still needs paint, and let's not even get into the orange formica countertops


Foyer Updated

Turns out it wasn't done after all.  In the end, I didn't like the color blue we chose, so I had to do 2 more coats of the new, darker blue.  It was worth the effort!  I also forgot about the switchplates which still had the old wallpaper around them, and one of which needed some major plastic repair.  Not sure how I missed those in the weeks/months I've been working on them, but I understand it's not uncommon.

We're still waiting for the wainscoting to come so we can stain it and put it up.  We also had the floors redone and soon we'll be able to put down some area rugs to brighten it up and protect the floor.  We added 3 paintings and they look fantastic.

These pictures were taken before the floors were redone, and you can see the unfinished switch plate on the wall.  Billy and Bob Hernon did the stairway.  Next job there will be to replace the carpeting, but that won't be until the 2nd floor project is finished.

Wednesday, November 23, 2011

Progress in the Foyer

One of the first things we did after taking possession of the house was run around and strip as much wallpaper off the walls as possible.  It came off in big sheets and was quite a lot of fun.  Once the wallpaper frenzy was over, however, we had to figure out what to tackle first.  We decided on the entryway.

In retrospect, it was possibly not the best idea to pick the most visible place in the house for the first project.  But it was a great learning experience, and so far it's turned out ok.  This is how it looked before the stripping madness:
Not bad, you think?  You had to see it close up, with its sea grass wallpaper and crumbling plaster.  With Billy the painter's help, Janet got to work on the long series of steps necessary to get it ready for painting:
Wash off the old glue
Patch the plaster
Fix this corner (Billy did it)
Skim coat
Strip the door (this was abandoned - not worth it)


Eventually it was ready for painting, which was actually the easiest part of the whole process (not to say that it was easy...).  The hardest part is skim coating, in my opinion.


1 coat of primer, 2 coats of paint
And finally, except for one small area that will need a second coat of finish paint, the foyer wall painting is done.  We still need to repaint the doors and trim, and we need to add back the wainscoting, so we're a long way from being altogether finished.

It probably took at least twice as long as it would have a professional painter, but we're pleased with the end result and the flaws are probably only noticeable to us (we hope).


And we couldn't have done it without our faithful helper:
Sunny

Wednesday, November 16, 2011

Catch up!

I'm so far behind on this blog and we've made so much progress!!  Fortunately, we've taken lots of pictures.  Of course, still so much to do, but given that we've only been able to work about a week a month, we've done pretty well.

Best of all, the exterior painting is done!

From across Elm St.

Front porch

Painted detail


East porch

East side

West side
We LOVE the way it's turned out.  It just needs some new landscaping to soften the impact from the street a bit, but we think it's just beautiful.  I am happy to give Billy Hernon of Williams Decorating a big shout out - what a magnificent job he and his team did.